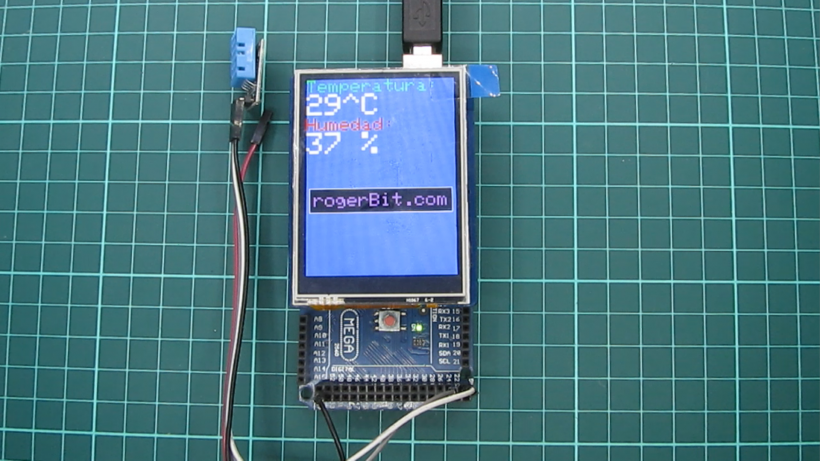
Hola amigos, en esta entrada revisaremos una pantalla táctil de 2.8″, con soporte para arduino, veremos los pasos para hacerla funcionar, con un arduino mega y un sensor de temperatura DHT11.
Para comprar este display pueden ir a la siguiente dirección https://www.dfrobot.com/product-1264.html

Introducción
El módulo de pantalla de cristal líquido basado en la interfaz de comunicación SPI, proporciona LCD TFT de 2,8 “, pantalla táctil resistiva, flash incorporado y almacenamiento de expansión externa en tarjeta SD. Este panel TFT se conecta directamente en la parte superior de un dispositivo compatible con pin Arduino.
Especificación
- Modelo: DM-TFT28-105
- Tamaño de pantalla: 2.8 “
- Voltaje de funcionamiento: 3.3V o 5V
- Relación de resolución: 240×320
- Interfaz de comunicación: SPI
- Memoria flash: 4MB
- Temperatura de funcionamiento: -10 ~ 70 ℃
- Soporte micro-tarjeta SD
- Soporta tanto Arduino como mbed
- Tamaño: 55 * 70 (W * H) mm
- Área de visualización: 43.2 * 57.6 (W * H) mm
- Peso: 40g

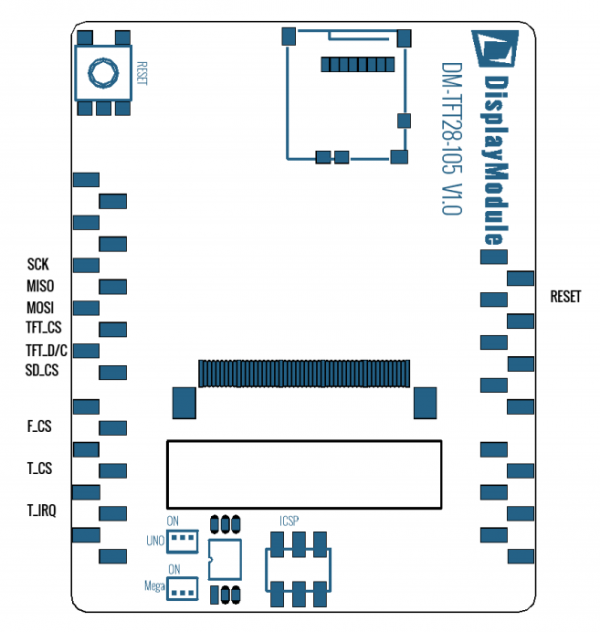
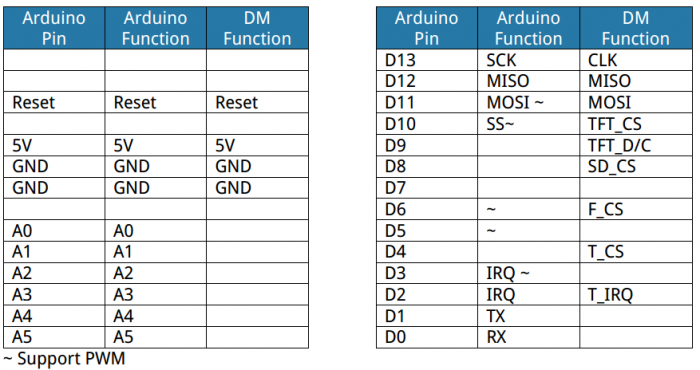
Pinout
1.TFT, Touch, tarjeta SD y asignación de pines de memoria flash externa:
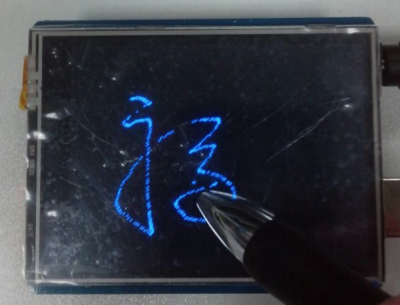
Tutorial básico de visualización
Ejemplo de muestra
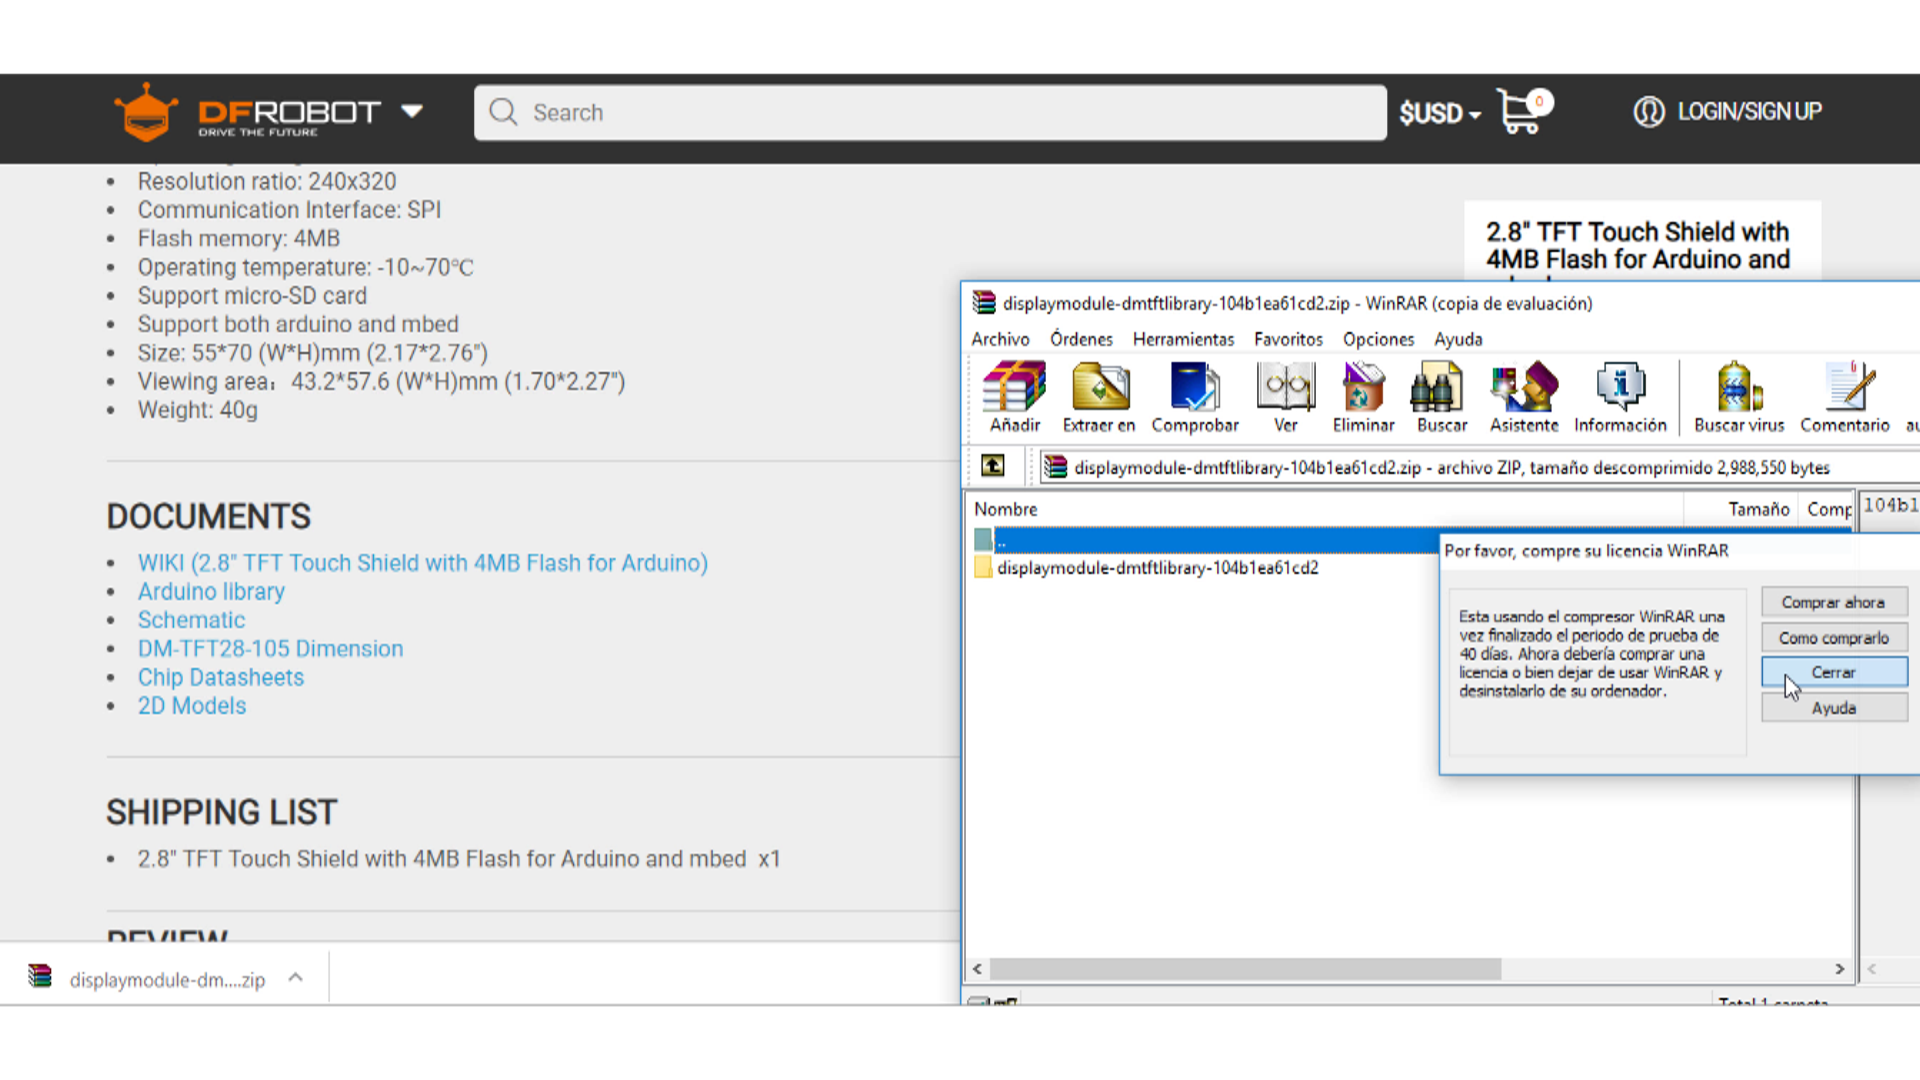
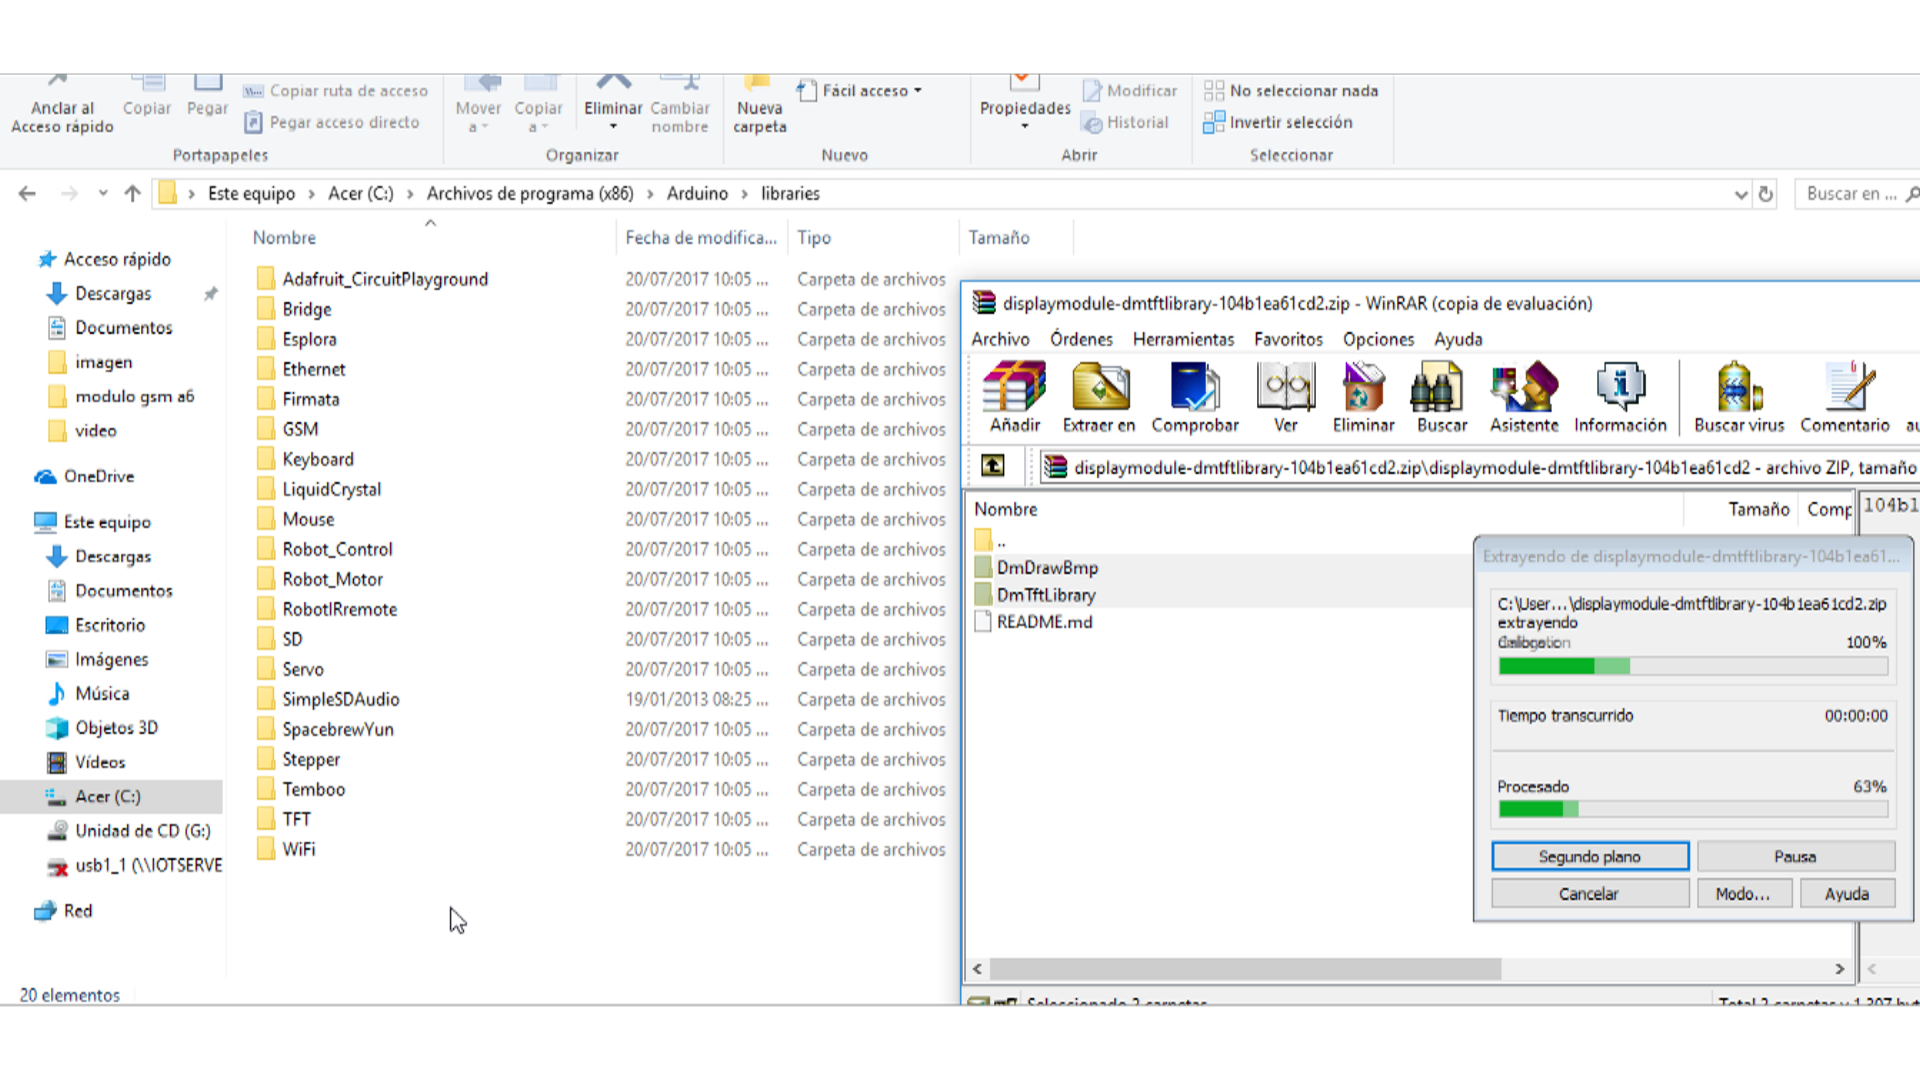
1. Primero descargue la librería DmTftLibrary desde dmtftlibrary 2.
Extraiga el contenido a su carpeta de la biblioteca Arduino. En Windows, esto generalmente se encuentra en la carpeta \ bibliotecas IDE de Arduino. Consulte la guía oficial de Arduino si desea más información sobre cómo instalar la Biblioteca de Arduino. La guía oficial de Arduino
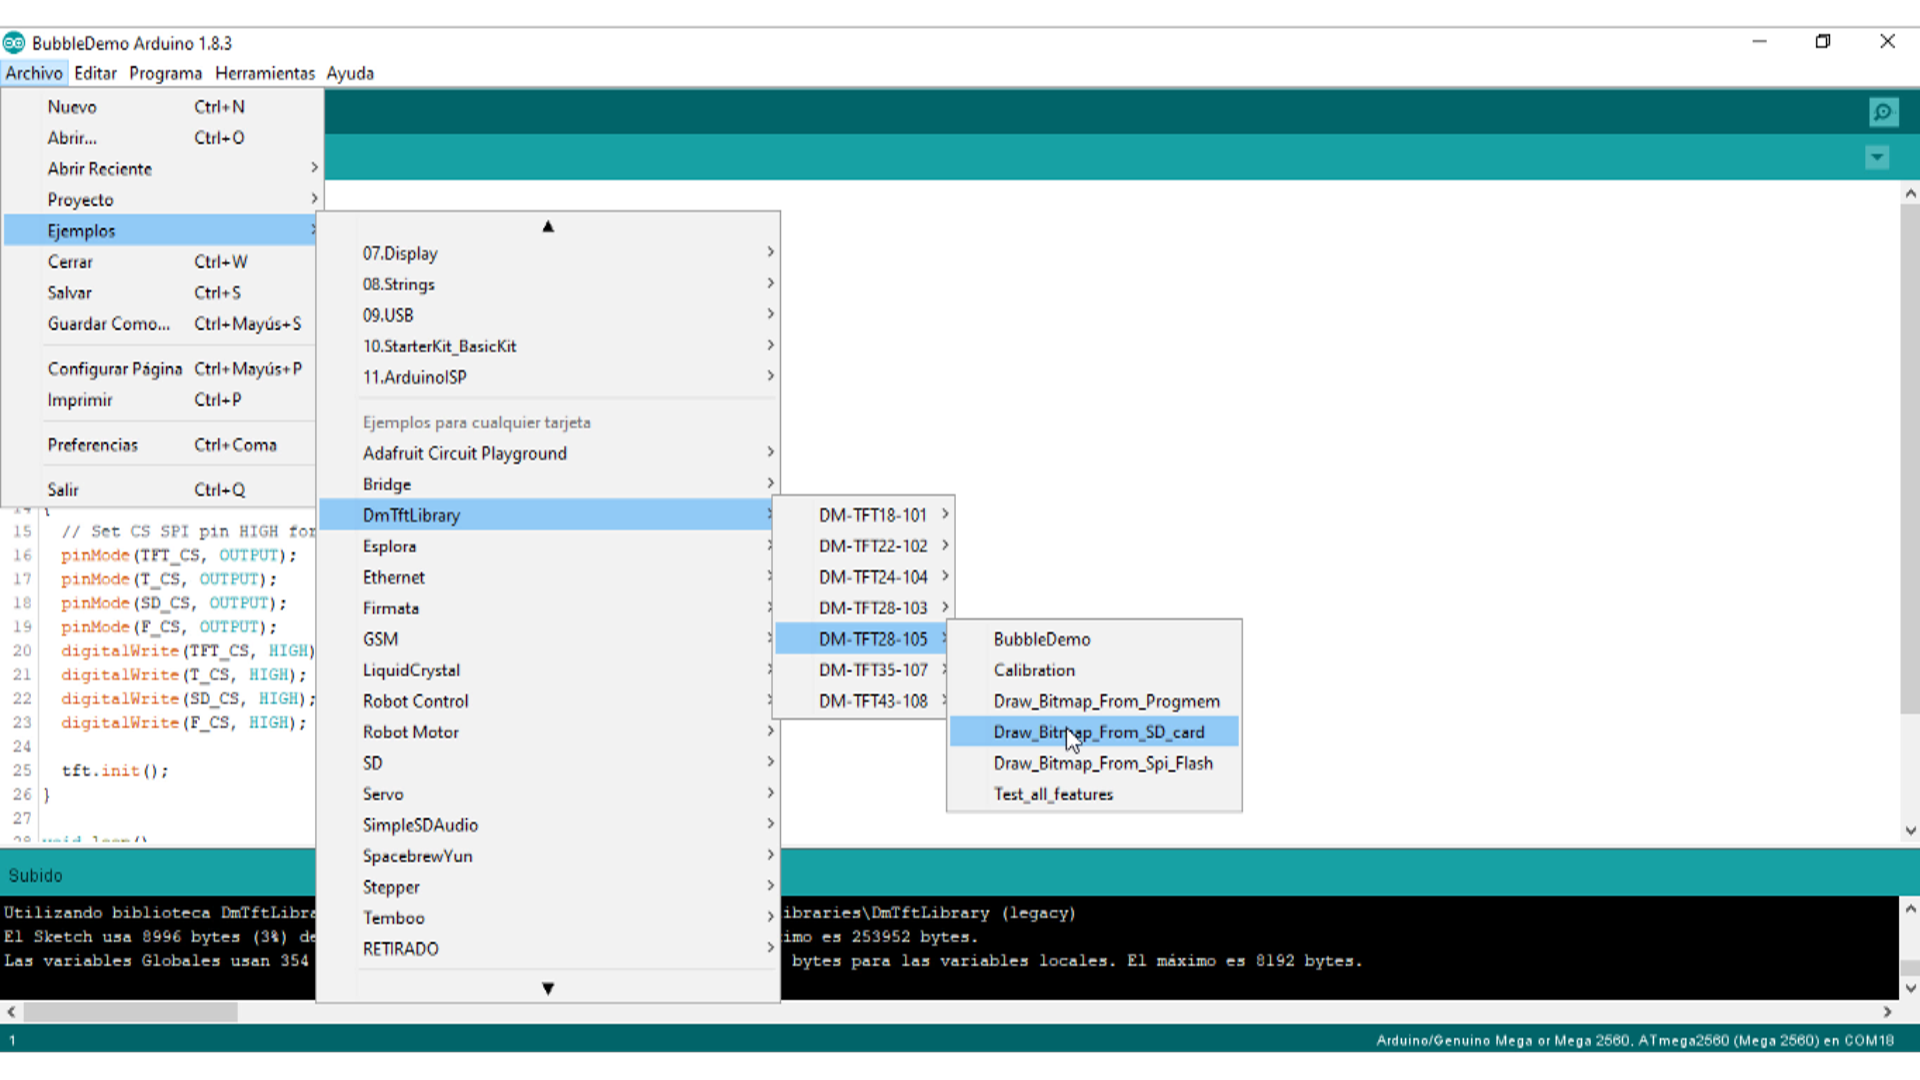
3. Inicie Arduino IDE, abra el código de muestra, haga clic en “Archivo -> Ejemplos -> DmTftLibraries”, seleccione la placa derecha y el puerto COM: DM-TFT28-105
4. Abra el ejemplo y cárguelo en su Tablero Arduino.

Mostrar código de muestra
La función básica se puede encontrar en el archivo de biblioteca <bibliotecas \ DmTftLibrary \ DmTftBase.h>
|
1 2 3 4 5 6 7 8 9 10 11 12 13 14 15 16 17 18 19 20 21 22 23 24 25 26 27 28 29 30 |
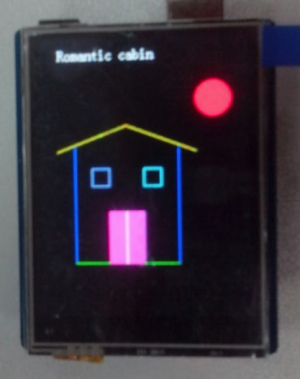
#include <SPI.h> #include <DmTftIli9341.h> DmTftIli9341 tft = DmTftIli9341(10, 9);// Define the function body void setup () { tft.init(); tft.drawString(5, 10," Romantic cabin");//Displays a string int x=100,y=100; tft.drawLine (x, y, x-80, y+30, YELLOW );//Draw line delay(1000); tft.drawLine (x, y, x+80, y+30, YELLOW ); delay(1000); tft.drawLine (x-60, y+25, x-60, y+160, BLUE ); delay(1000); tft.drawLine (x+60, y+25, x+60, y+160, BLUE ); delay(1000); tft.drawLine (x-60, y+160, x+60, y+160,0x07e0 ); delay(1000); tft.drawRectangle(x-40, y+50,x-20, y+70, 0x8418);//Draw rectangle delay(1000); tft.drawRectangle(x+40, y+50,x+20, y+70, 0x07ff); delay(1000); tft.fillRectangle(x-20, y+100, x+20, y+160, BRIGHT_RED);//Draw fill rectangle delay(1000); tft.drawLine (x, y+100, x, y+160, WHITE ); delay(1000); tft.fillCircle(x+100, y-30, 20, RED ); delay(1000); } void loop(){} |
Pantalla táctil Código de ejemplo
|
1 2 3 4 5 6 7 8 9 10 11 12 13 14 15 16 17 18 19 20 21 |
#include <SPI.h> #include <DmTftIli9341.h> #include <DmTouch.h> #include <utility/DmTouchCalibration.h> DmTftIli9341 tft = DmTftIli9341(10,9); DmTouch dmTouch = DmTouch(DmTouch::DM_TFT28_105); DmTouchCalibration calibration = DmTouchCalibration(&tft, &dmTouch); bool calibrated = false; uint16_t x=0, y=0 ; void setup() { dmTouch.setCalibrationMatrix(calibration.getDefaultCalibrationData((int)DmTouch::DM_TFT28_105)); tft.init(); dmTouch.init(); } void loop() { bool touched = true; if (dmTouch.isTouched()) { dmTouch.readTouchData(x,y,touched);//(x, y) coordinates read contacts calibration.drawCalibPoint(x, y);//In a display of contact } } |
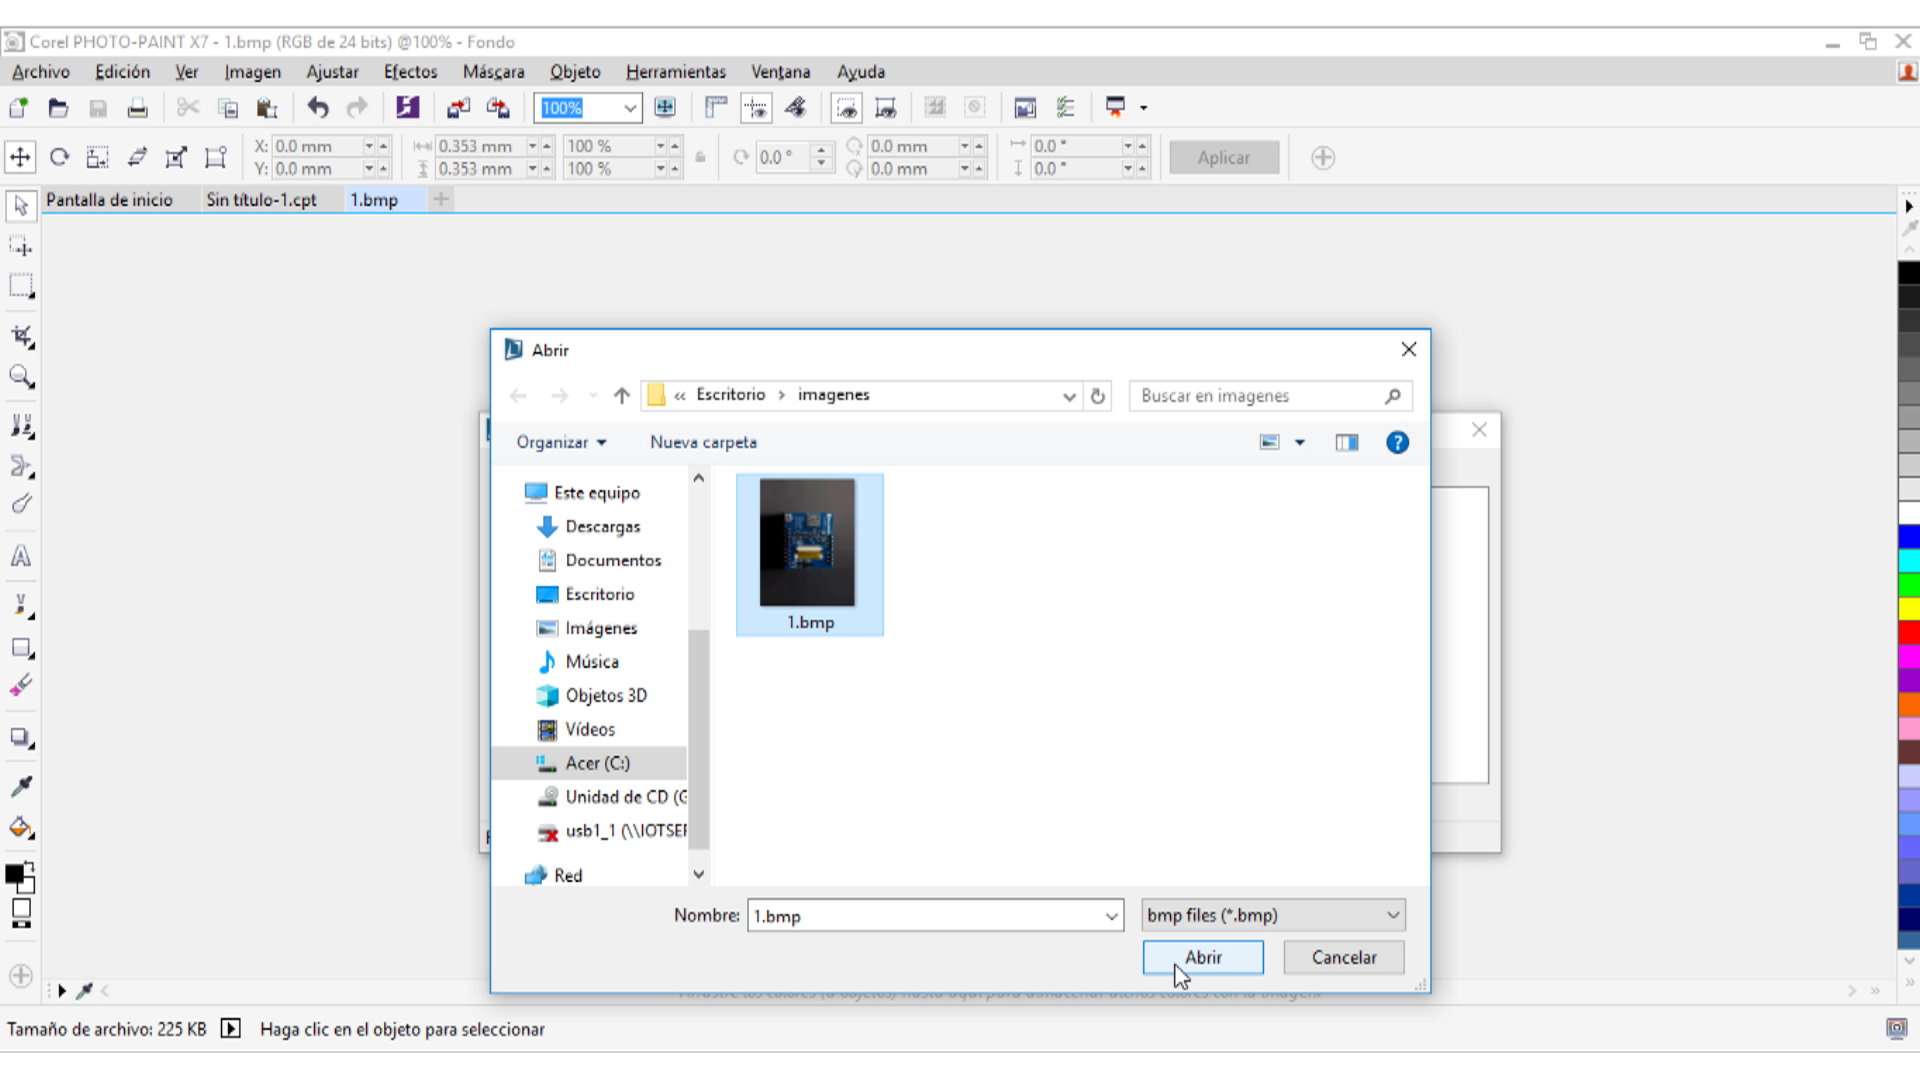
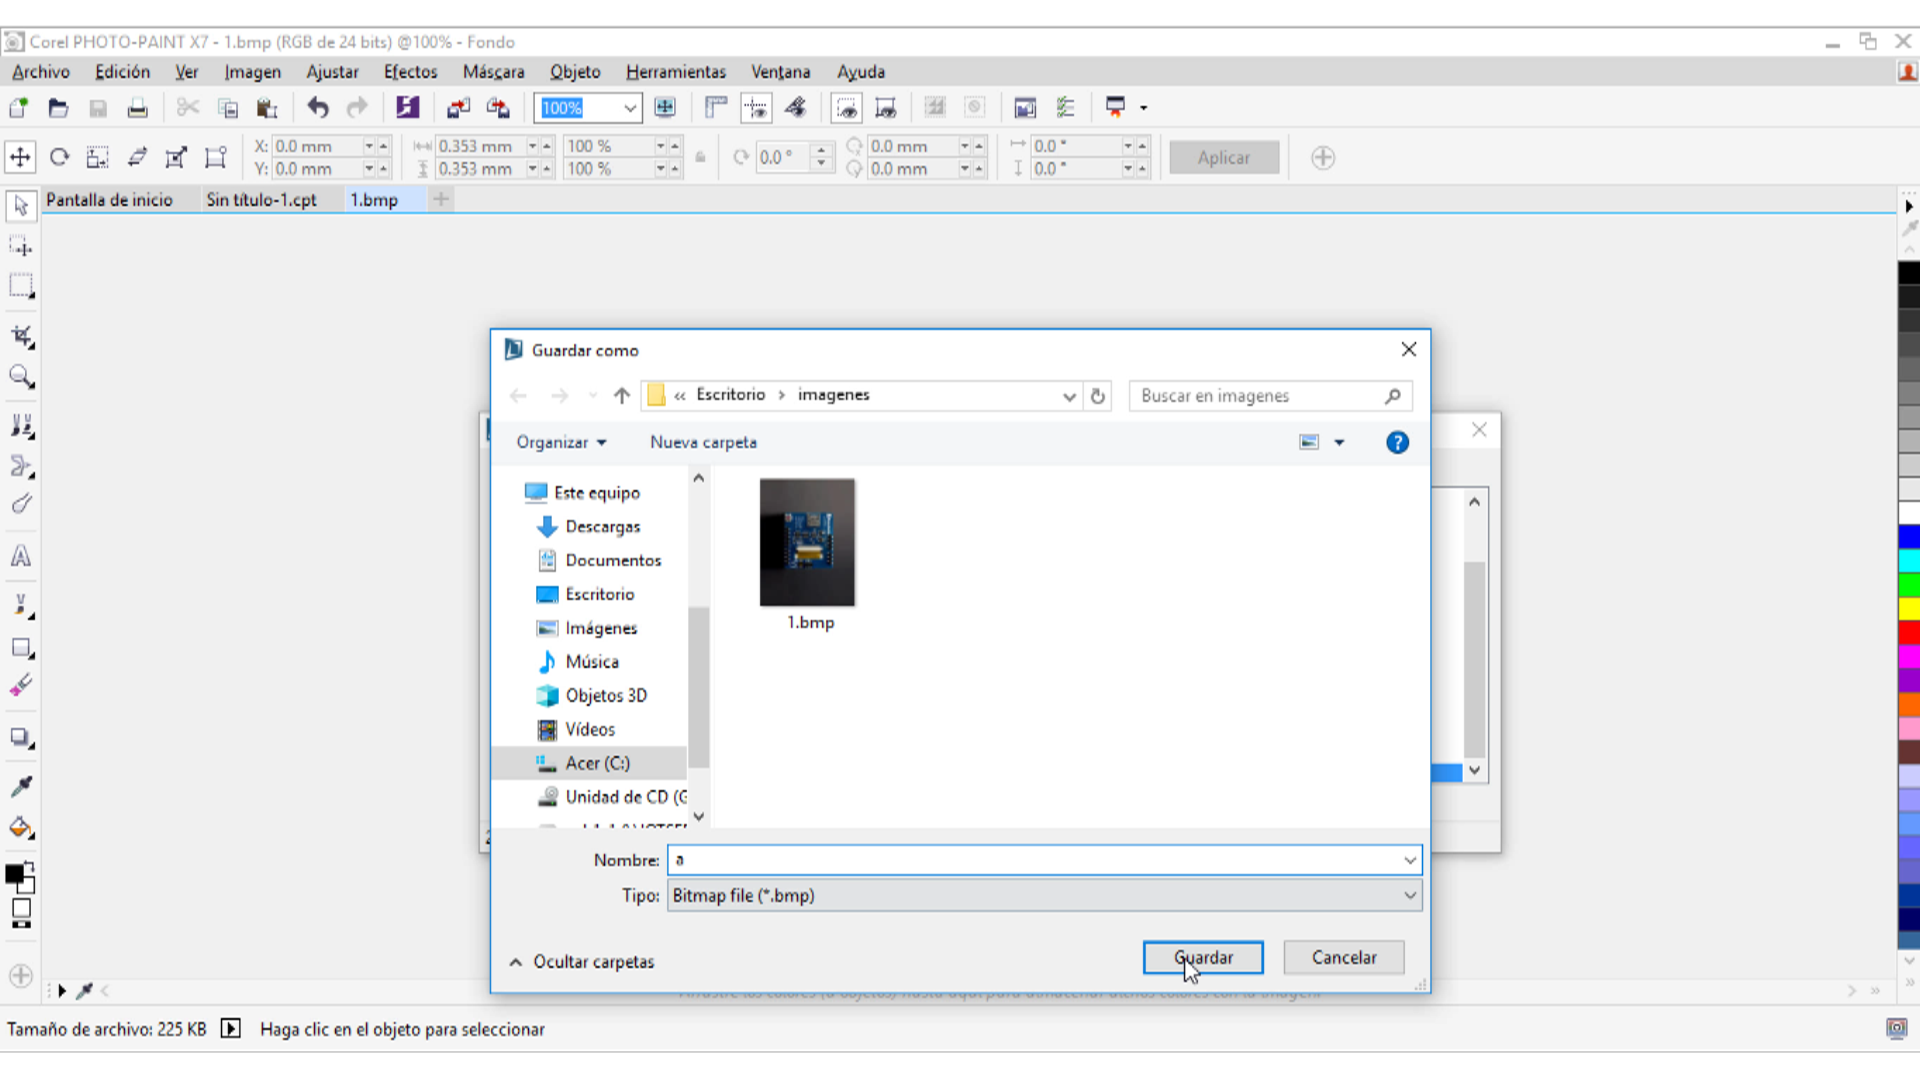
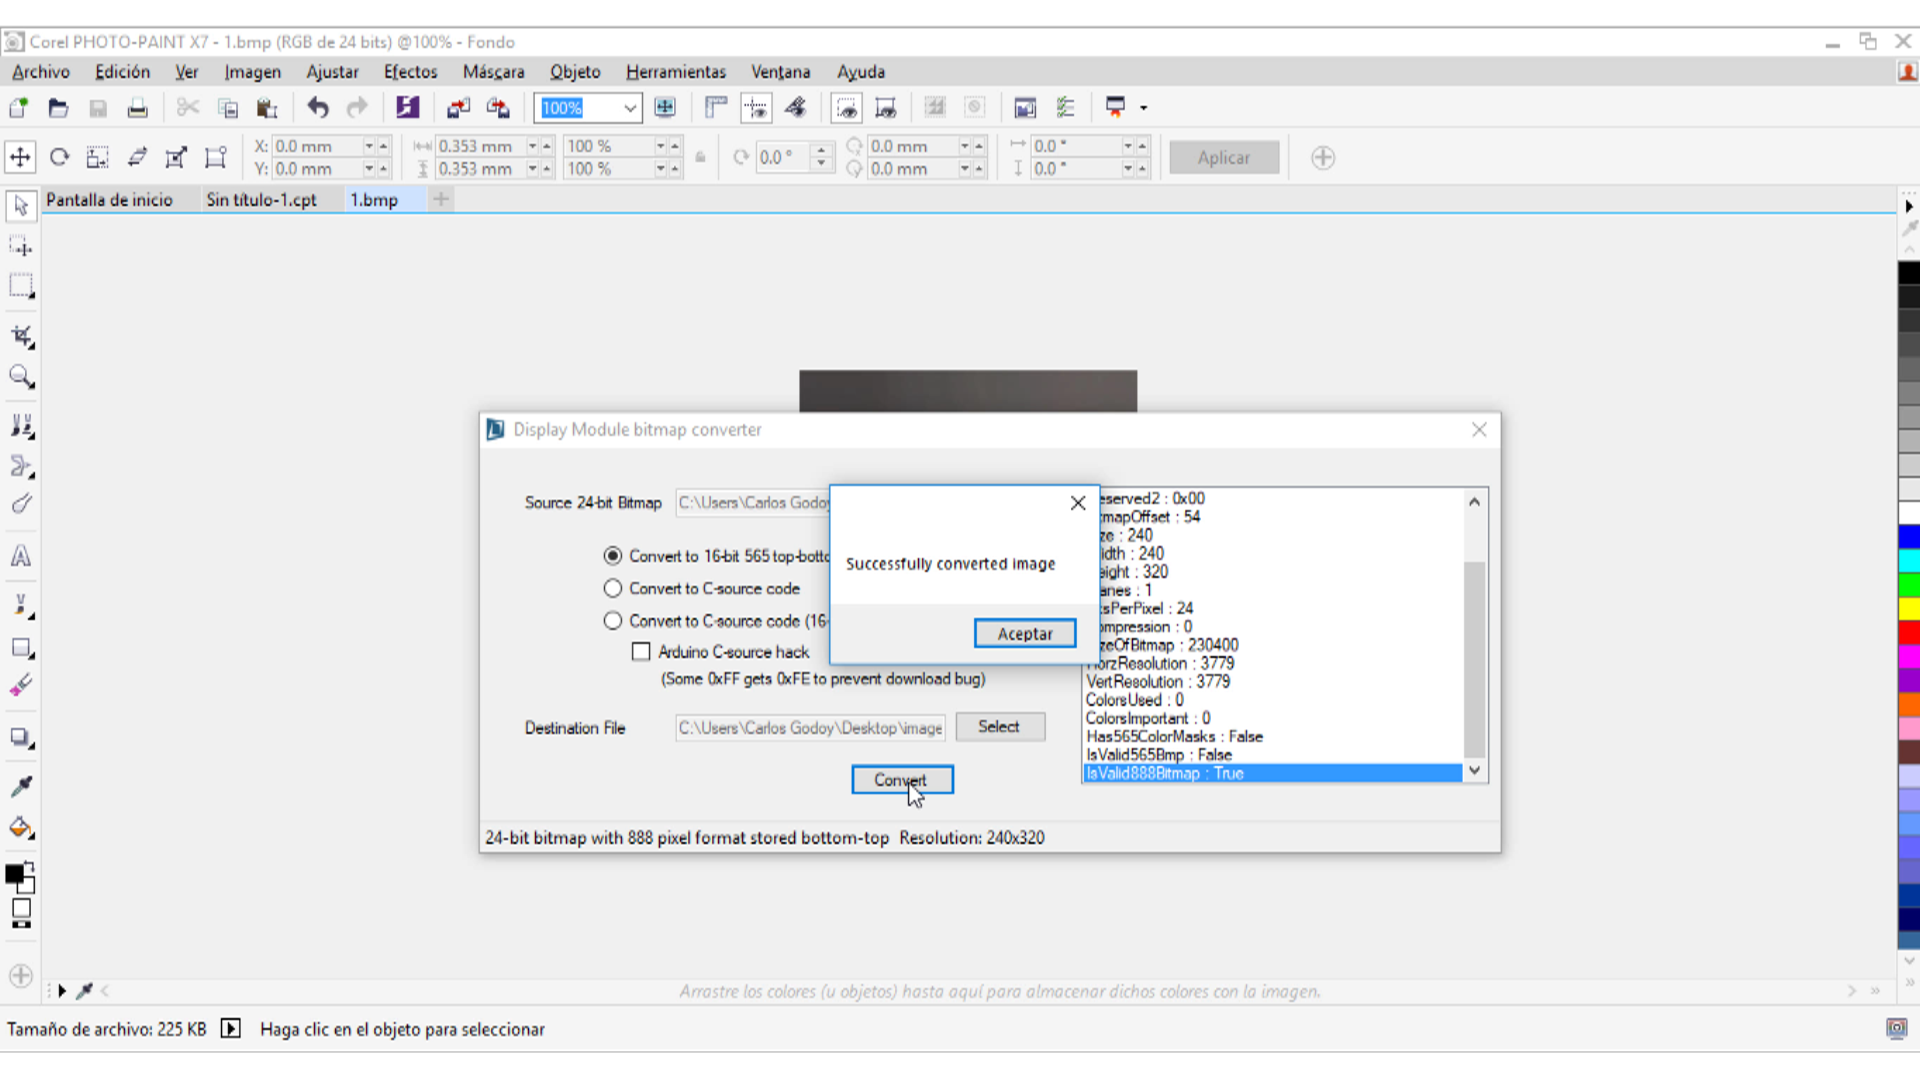
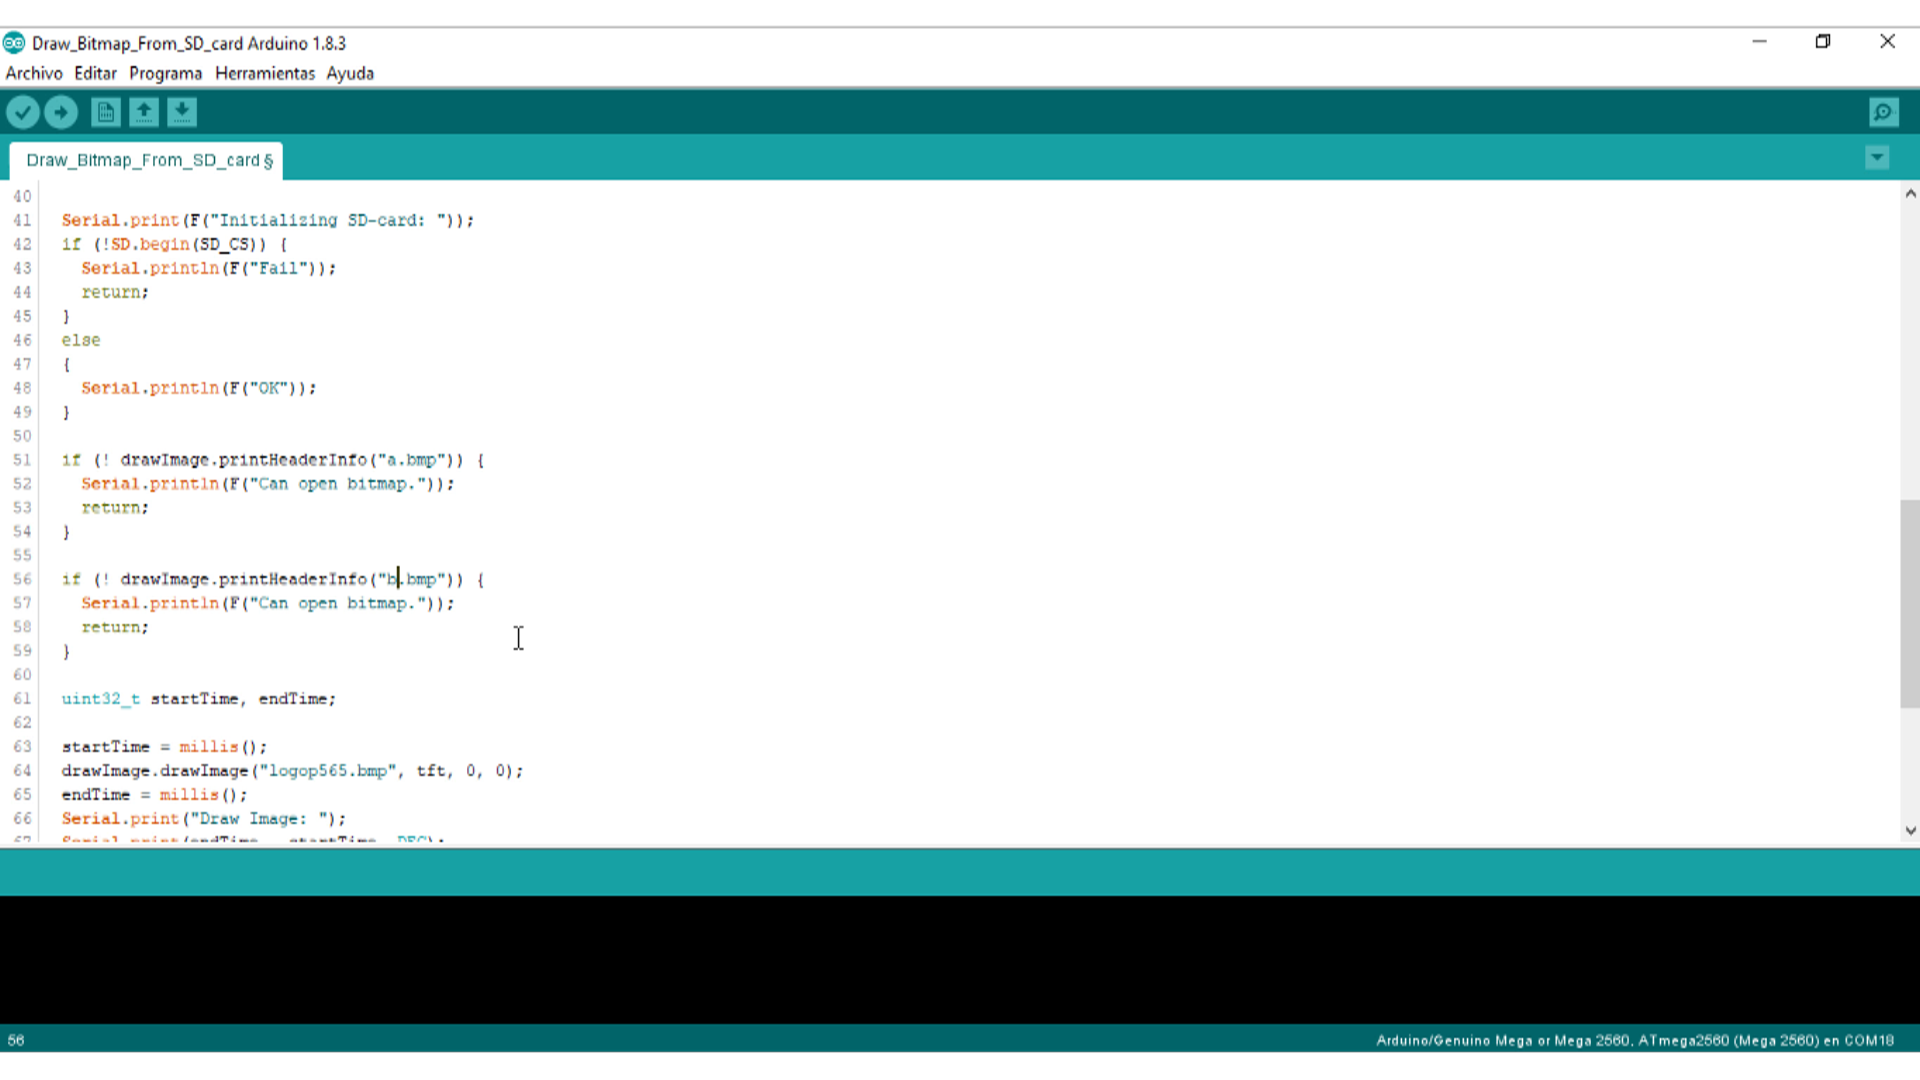
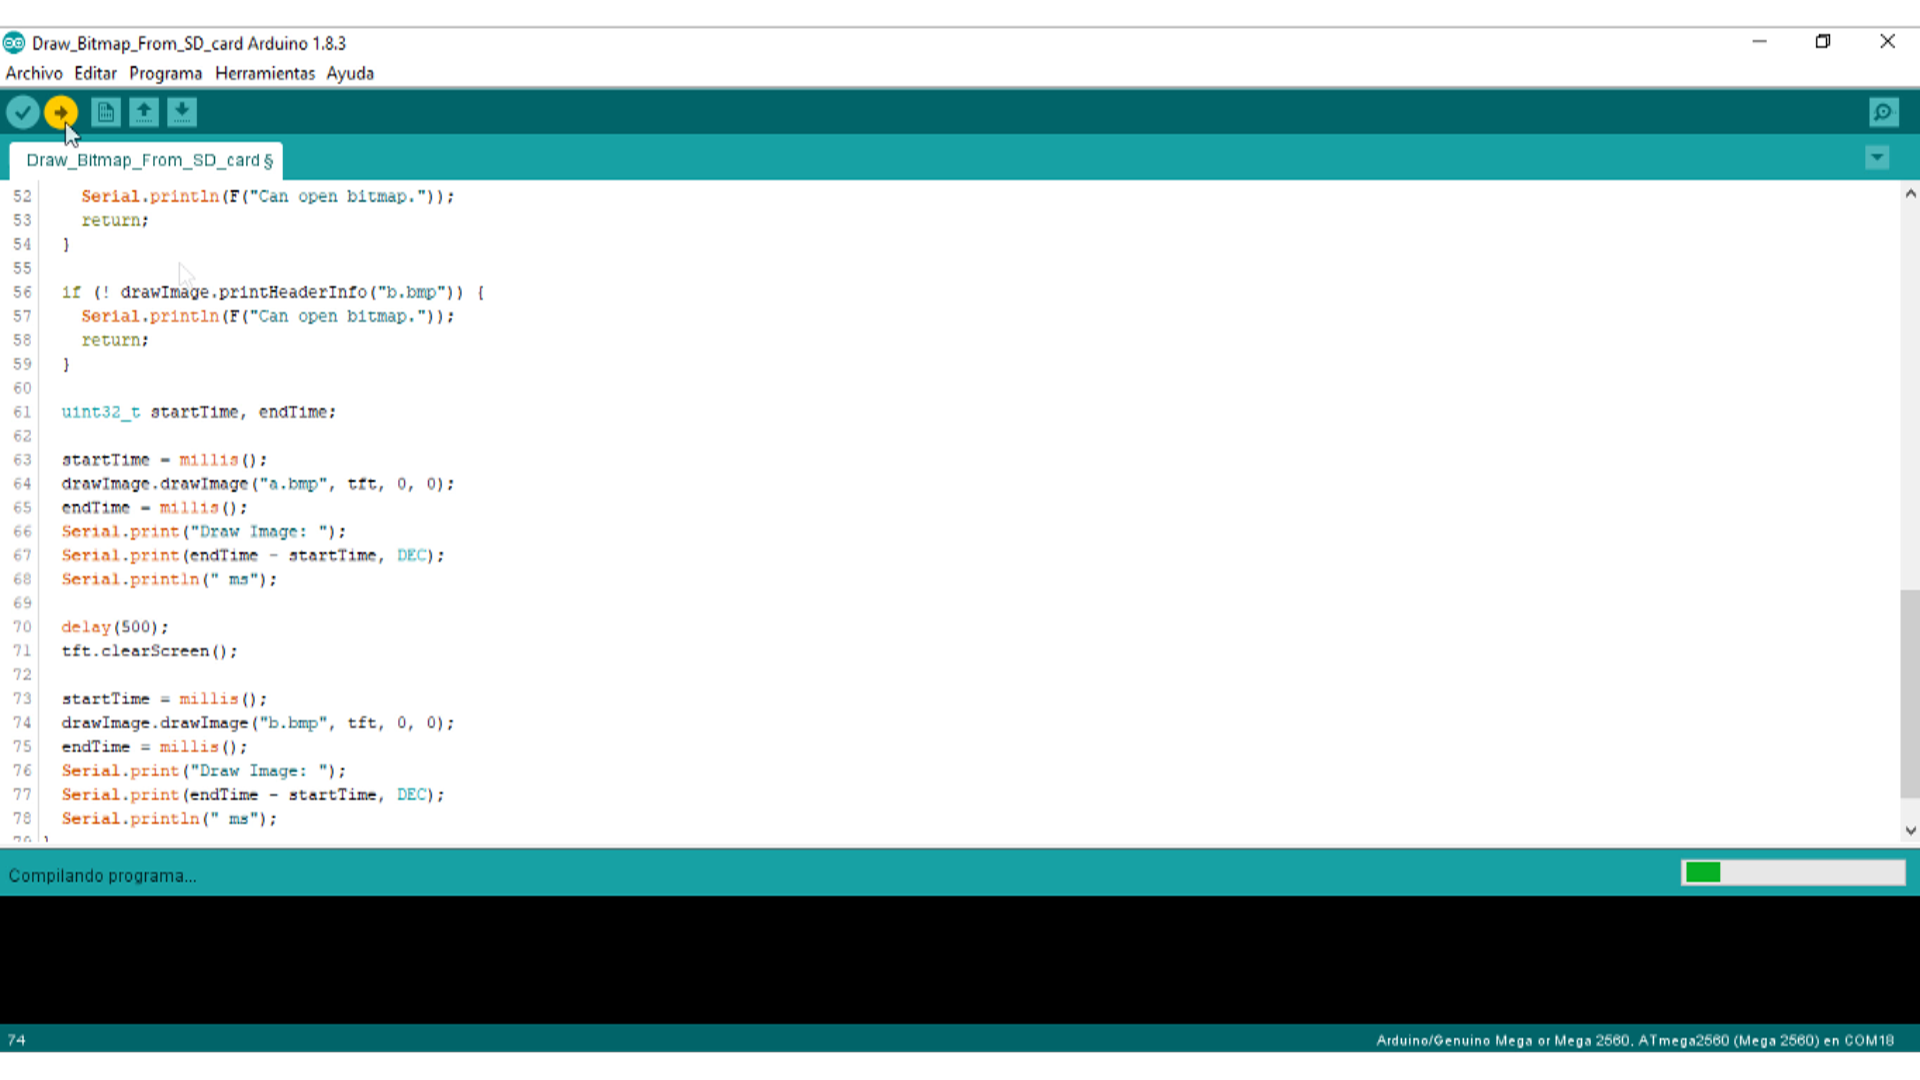
Mostrar imágenes de una tarjeta SD
Mostrar imágenes de una tarjeta SD
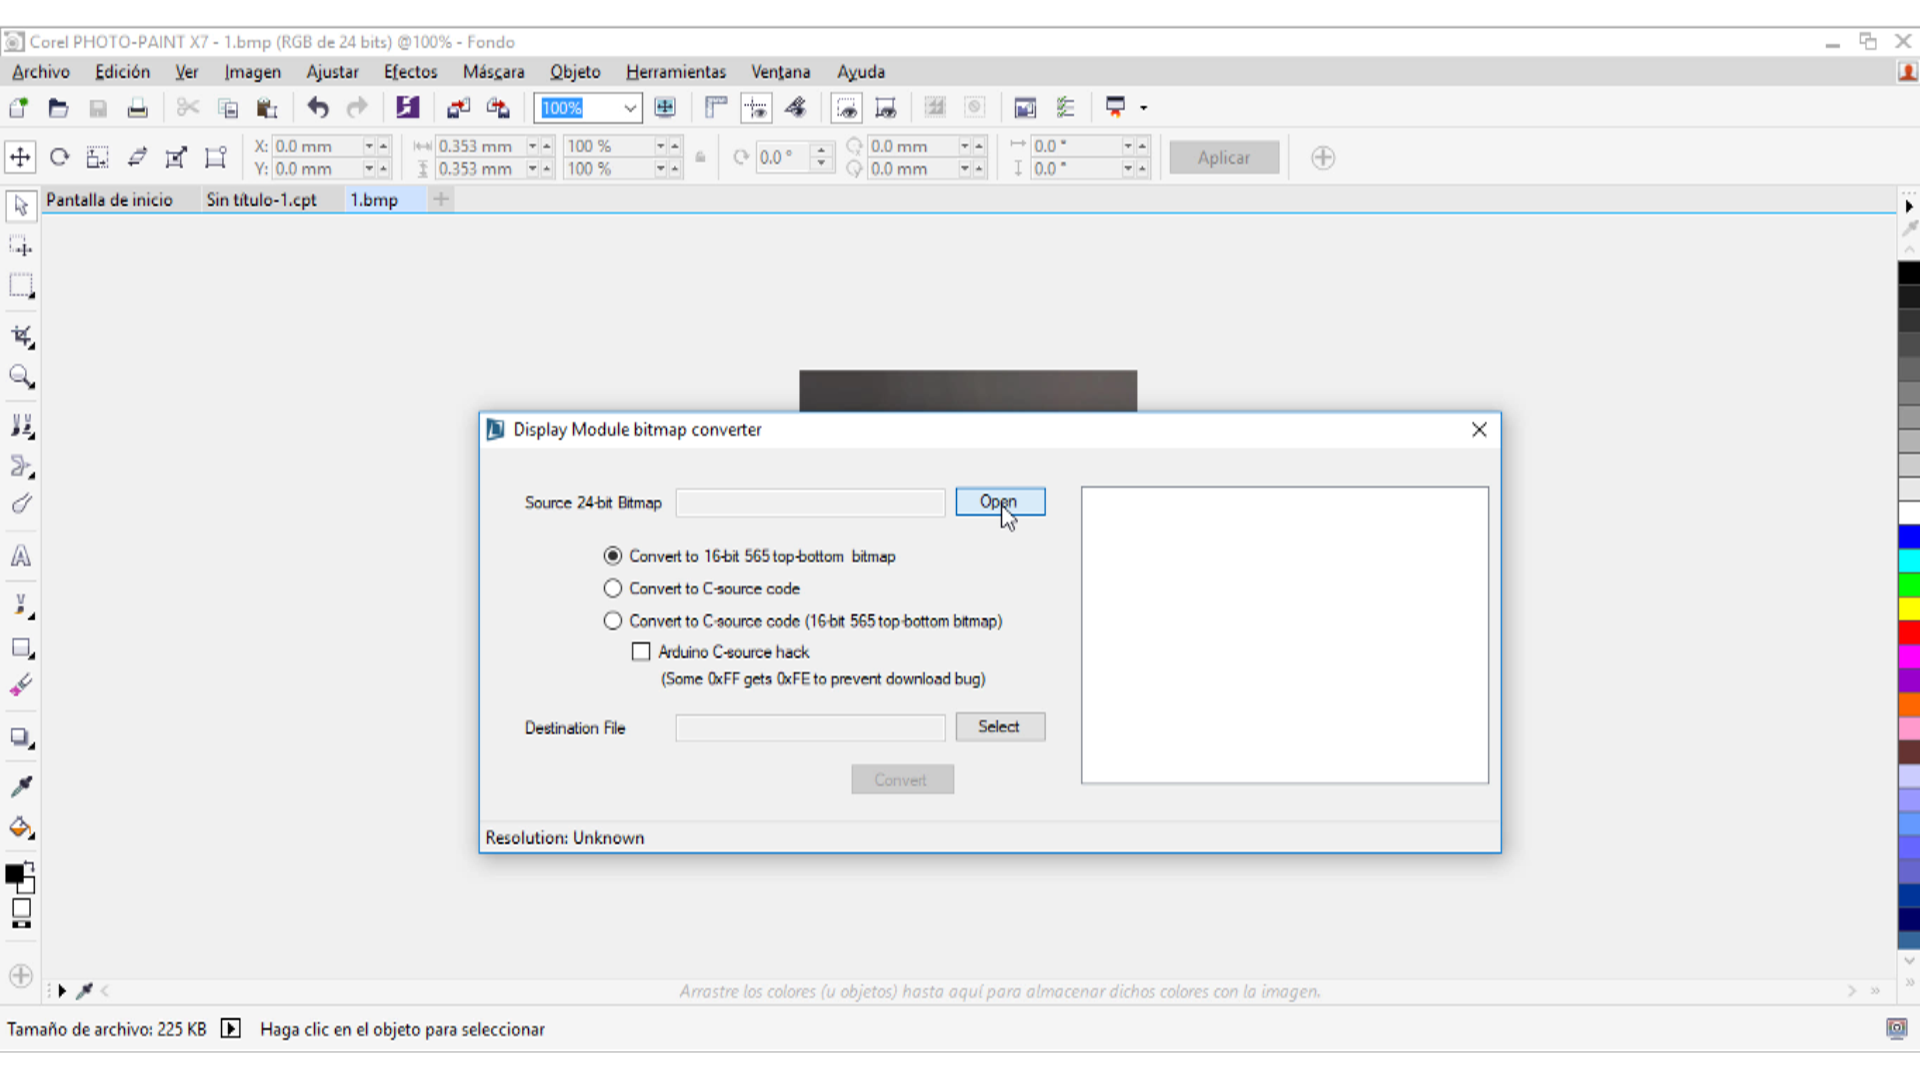
Requiere un formato especial para la imagen que se muestra: 16bit RGBRGB bmp
Puede descargar la herramienta de conversión aquí: ImageConverter
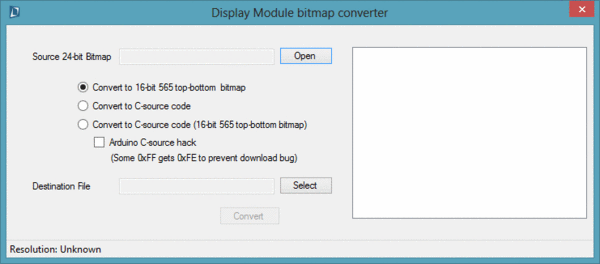
De todos modos, hay una imagen convertida en la carpeta de la biblioteca (DmTftLibrary \ examples \ DM-TFT28-105). Podrías intentarlo primero.
1.Copia la imagen convertida al SD.
2.Enchufe la tarjeta SD en la pantalla táctil.
3.Descarga el siguiente programa
|
1 2 3 4 5 6 7 8 9 10 11 12 13 14 15 16 17 18 19 20 21 22 23 24 25 26 27 28 29 30 31 |
#include <SPI.h> #include <SPIFlash.h> #include <SD.h> #include <DmTftIli9341.h> #include <DmDrawBmpFromSdCard.h> #define TFT_CS 10 #define SD_CS 8 #define F_CS 6 #define T_CS 4 DmTftIli9341 tft = DmTftIli9341(10, 9); DmDrawBmpFromSdCard drawImage = DmDrawBmpFromSdCard(); void setup() { // Set CS SPI pin HIGH for all SPI units, so they don't interfere pinMode(TFT_CS, OUTPUT); digitalWrite(TFT_CS, HIGH); pinMode(T_CS, OUTPUT); digitalWrite(T_CS, HIGH); pinMode(SD_CS, OUTPUT); digitalWrite(SD_CS, HIGH); pinMode(F_CS, OUTPUT); digitalWrite(F_CS, HIGH); Serial.begin(9600); tft.init(); SD.begin(SD_CS); drawImage.drawImage("logop565.bmp", tft, 0, 0);//Display picture tft.clearScreen(); delay(2000); drawImage.drawImage("logop888.bmp", tft, 0, 0); } void loop() { } |
Instalación de la librería
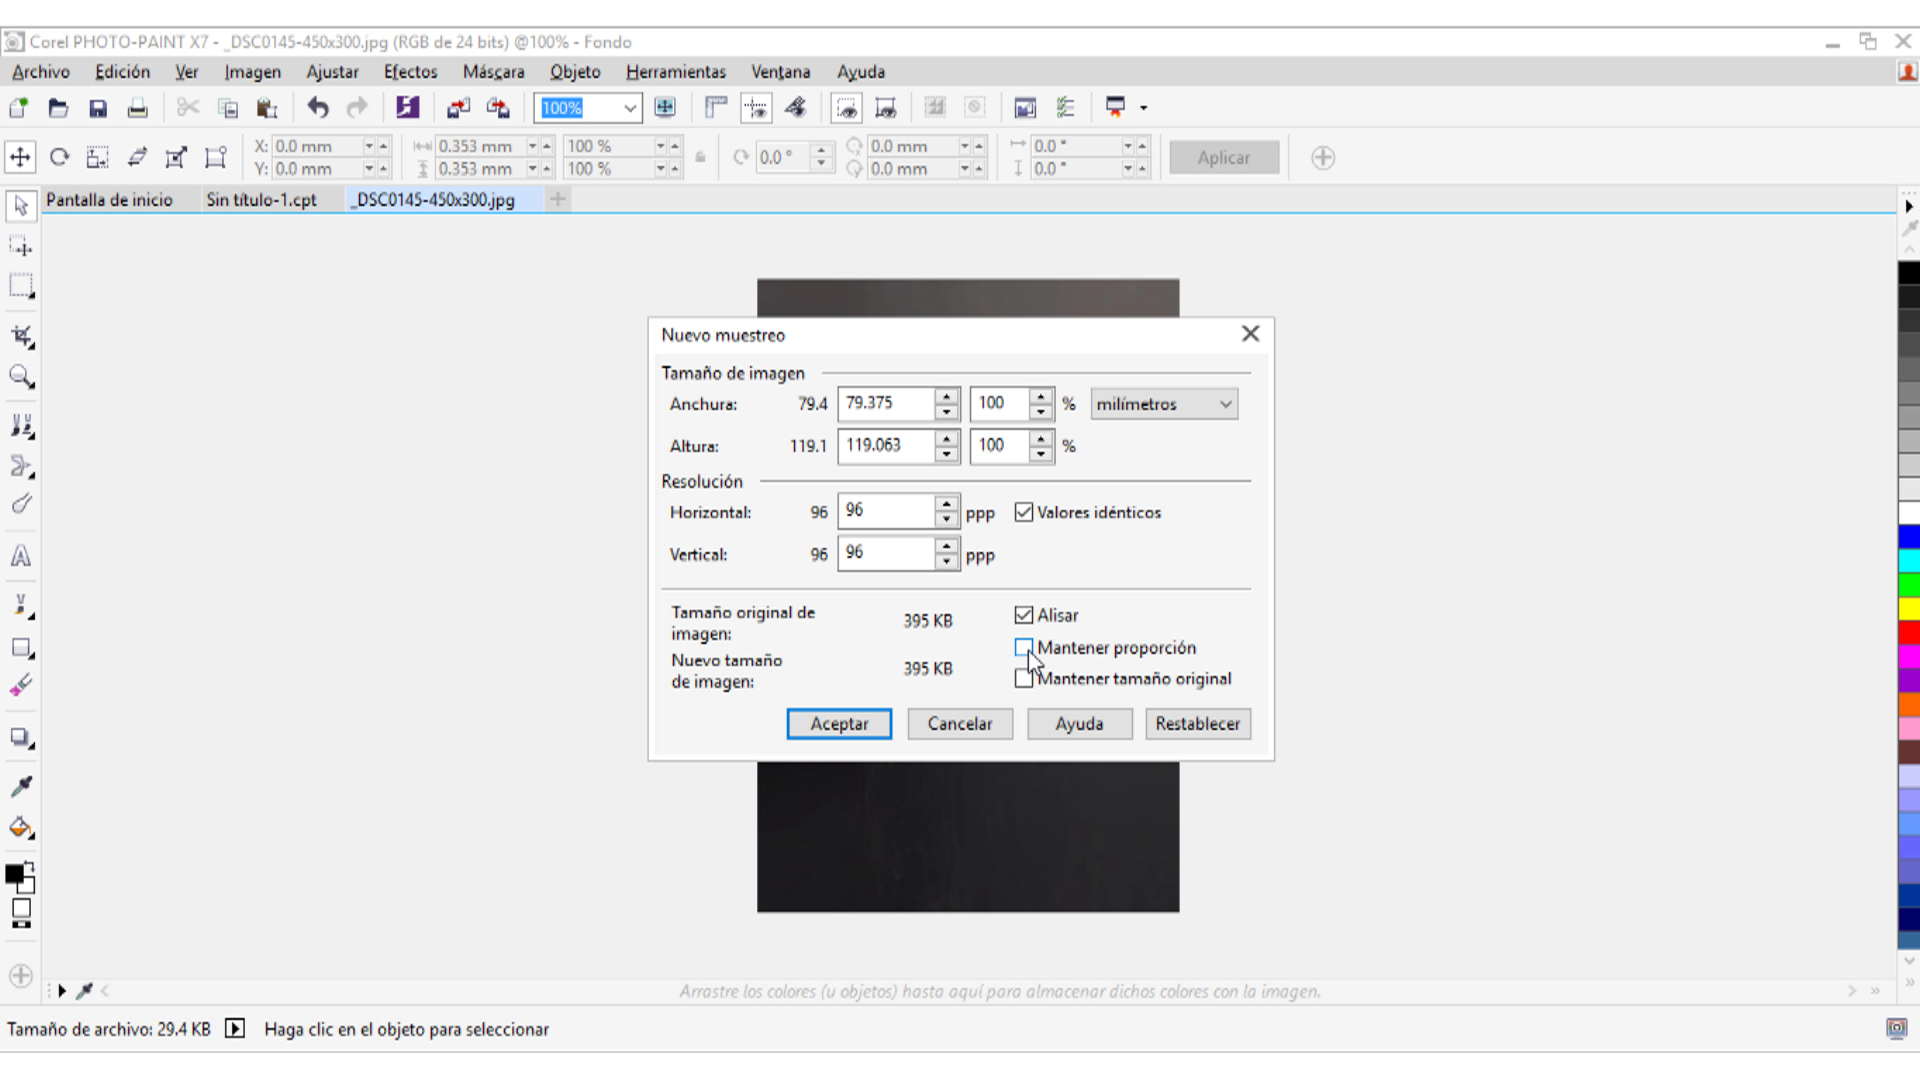
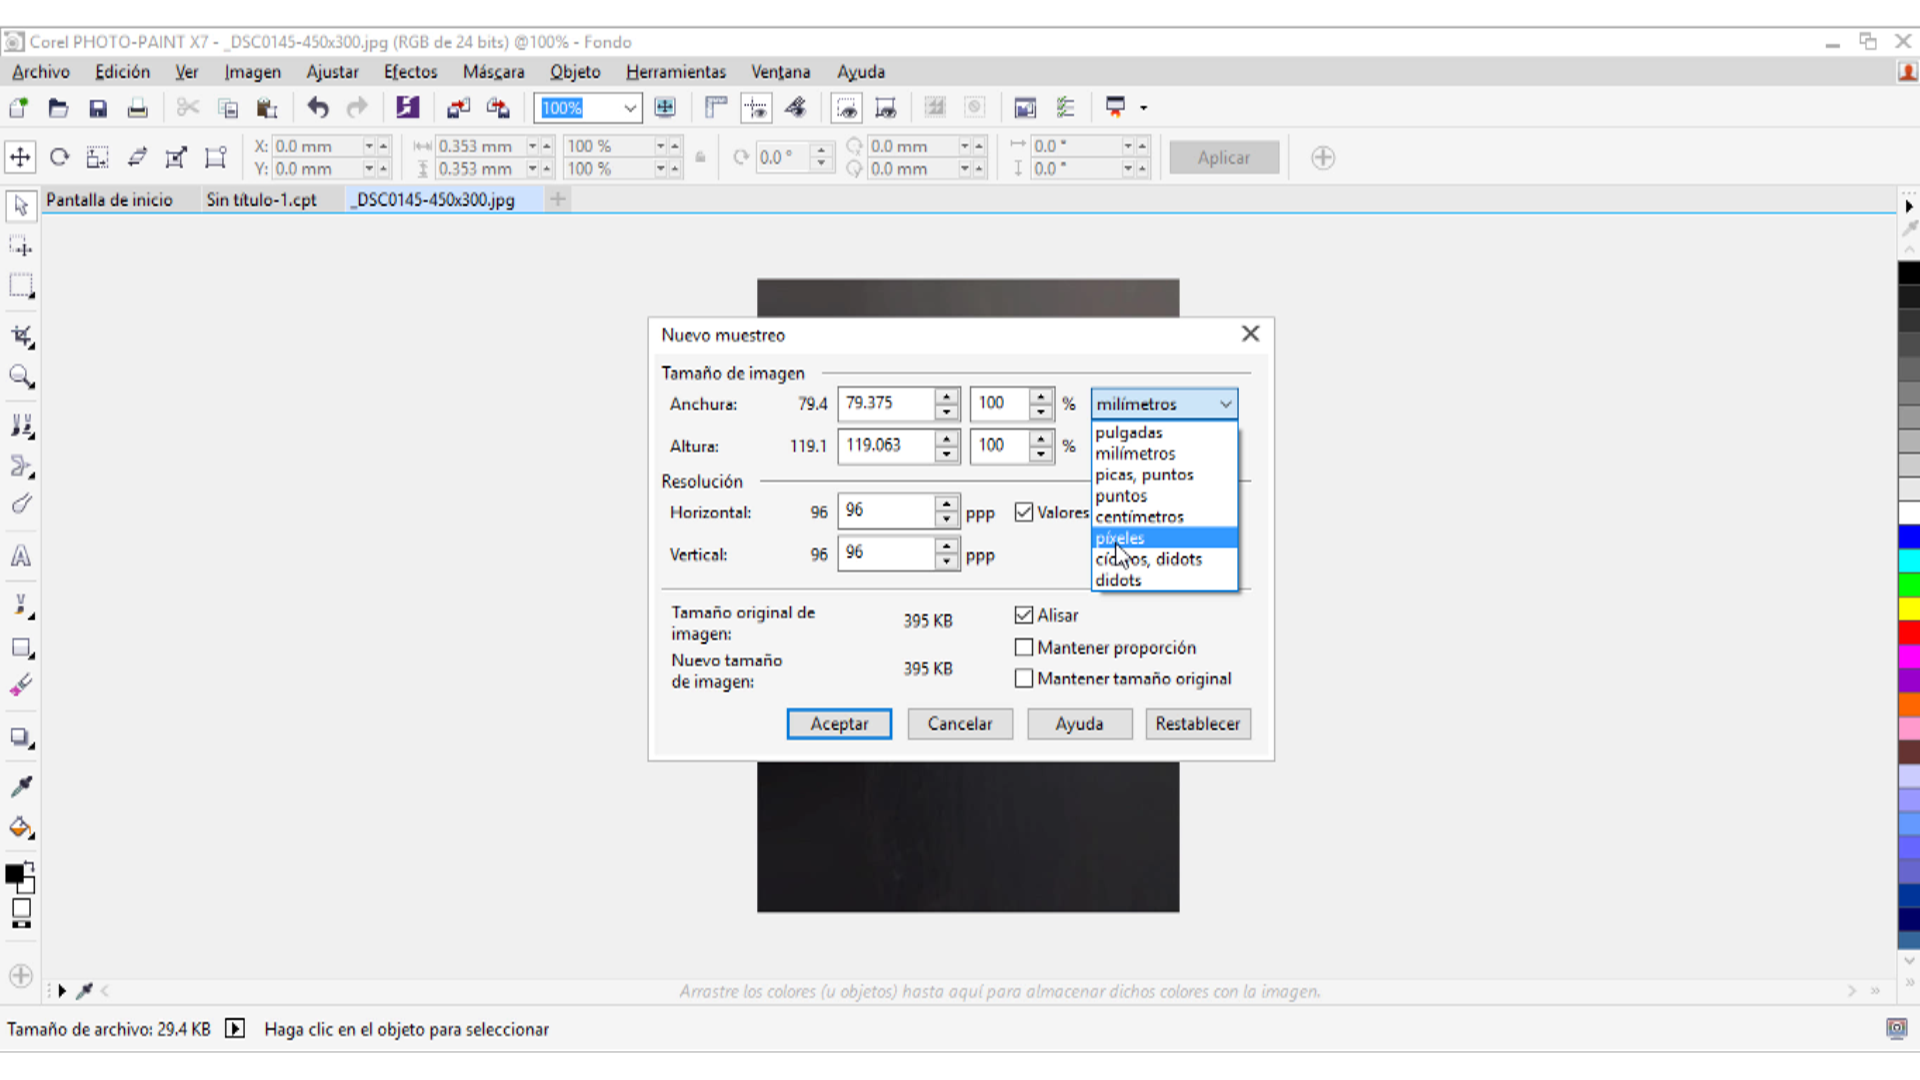
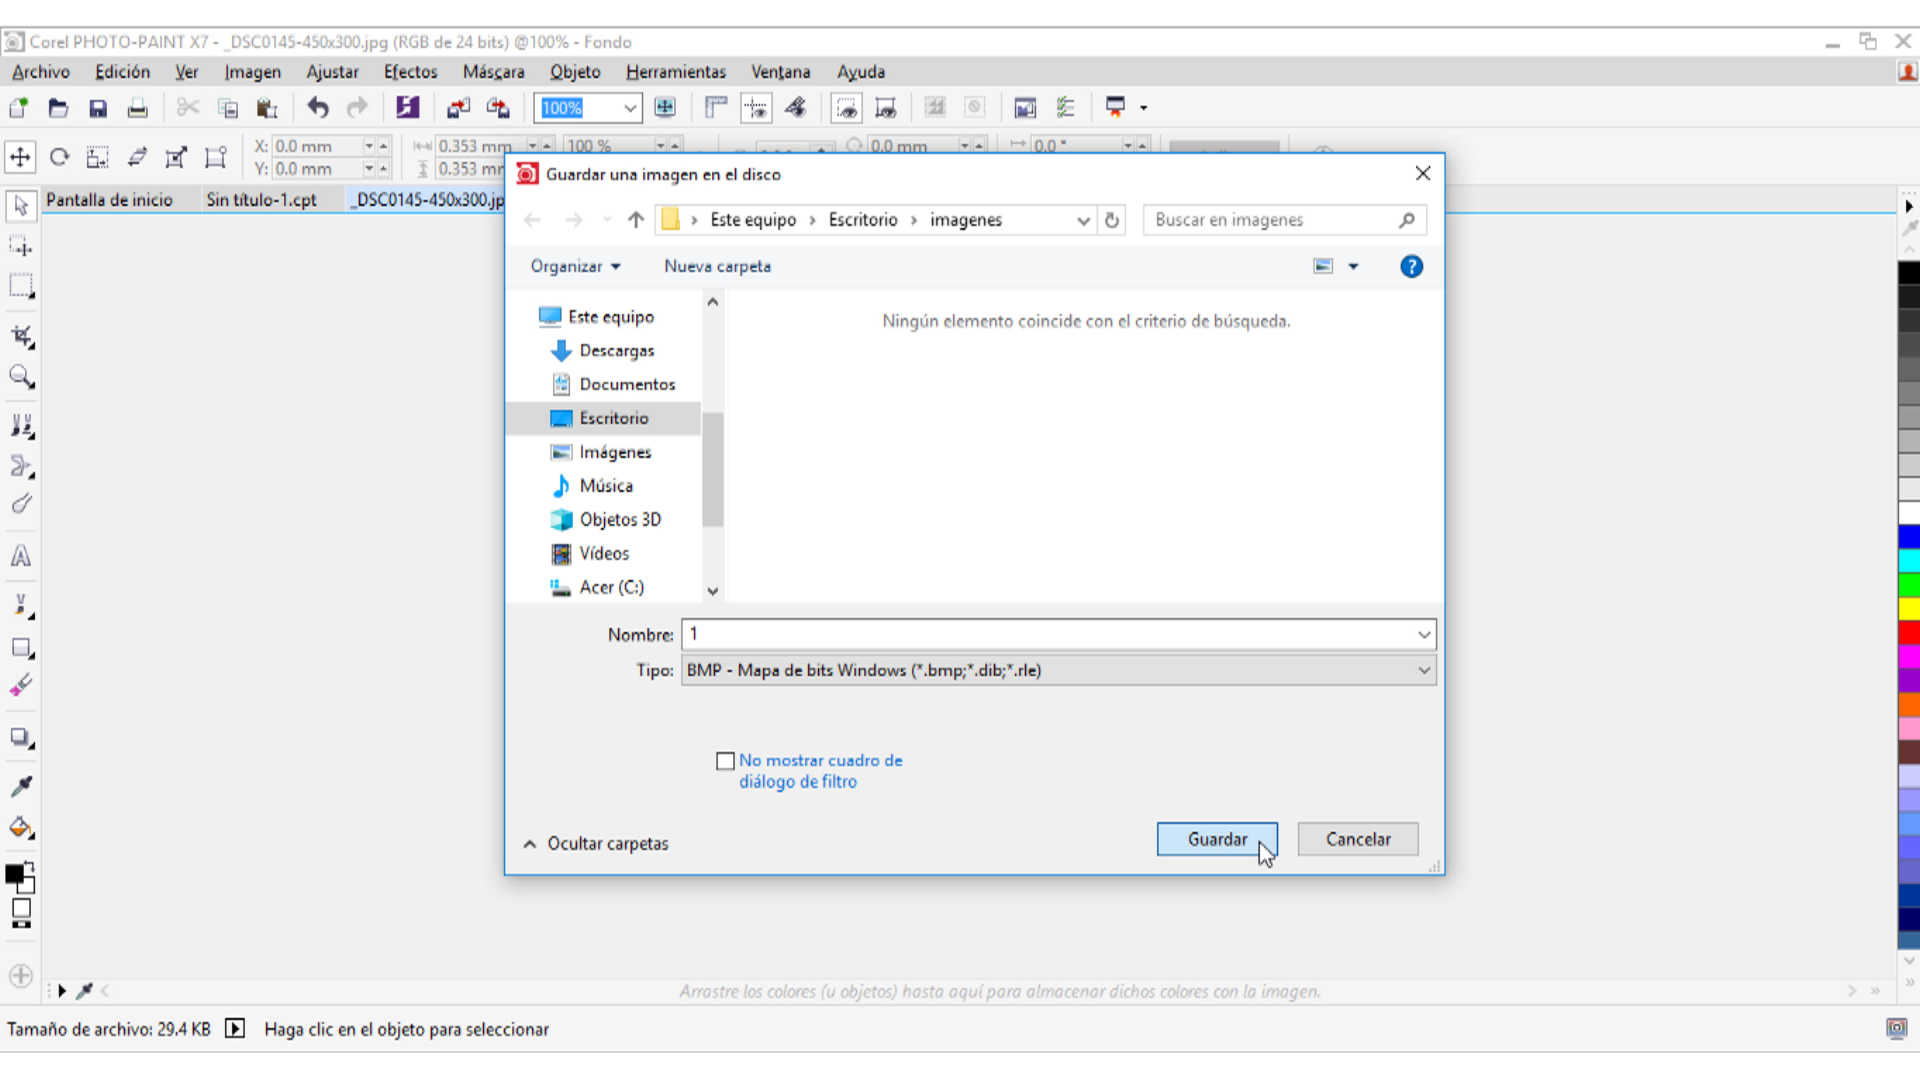
Conversión de archivos
Para poder visualizar imágenes en el display debemos convertir y adaptar los archivos.


Código Fuente
En sigueinte código vamos a visualizar el el display la temperatura y la humedad relativa con el sensor DHT11
|
1 2 3 4 5 6 7 8 9 10 11 12 13 14 15 16 17 18 19 20 21 22 23 24 25 26 27 28 29 30 31 32 33 34 35 36 37 38 39 40 41 42 43 44 |
// Incluimos librería #include <DHT.h> #include "SPI.h" #include "Adafruit_GFX.h" #include "Adafruit_ILI9341.h" // Pines que vamos ha usar en el proyecto #define TFT_DC 9 #define TFT_CS 10 #define DHTTYPE DHT11 #define DHTPIN 22 DHT dht(DHTPIN, DHTTYPE); // Usar hardware SPI (en Uno o Mega, # 13, # 12, # 11) y lo anterior para CS / DC Adafruit_ILI9341 tft = Adafruit_ILI9341(TFT_CS, TFT_DC); void setup() { tft.begin();//Inicializa el display dht.begin();//Inicializa el sensor de humedad y temperatura } void loop() { delay(5000);//Vamos ha esperar 5 segndos entre lecturas int h = dht.readHumidity(); // Lectura de la humedad relativa int t = dht.readTemperature();// Lectura de la temperatura en grados centígrados tft.fillScreen(ILI9341_BLUE);//Pone el fondo de pantalla en color azul tft.setCursor(0, 0);//Posición del texto en la pantalla tft.setTextColor(ILI9341_GREEN);//Setea el color del texto en verde tft.setTextSize(3);//Seteo del tamaño del texto tft.println("Temperatura:");// Se imprime en patalla la "Temperatura:" tft.setTextSize(5);//Seteo del tamaño del texto tft.setTextColor(ILI9341_WHITE);//Setea el color del texto en blanco tft.print(t);//Muestra la temperatura obtenida del sensor tft.println("^C");//Imprime "^C" tft.setTextColor(ILI9341_RED);//Setea el color del texto en rojo tft.setTextSize(3);//Seteo del tamaño del texto tft.println("Humedad:");// Se imprime en patalla la "Humedad:" tft.setTextSize(5);//Seteo del tamaño del texto tft.setTextColor(ILI9341_WHITE);//Setea el color del texto en blanco tft.print(h);// Se imprime en patalla la el valor de la temperatura actual tft.println(" %"); // Se imprime en patalla la "%" tft.fillRect(5,180, 230, 40, ILI9341_BLACK);//Dibuja un rectangulo con el fondo negro tft.drawRect(5,180,230,40,ILI9341_WHITE);//Dibuja un rectangulo con contorno blanco tft.setCursor(12,188);//Posición donde se colocará el texto tft.setTextColor(ILI9341_PURPLE);//Color del texto tft.setTextSize(3);//Tamaño del texto tft.print("rogerBit.com");//Texto que se mostrará } |
Para comprar este display pueden ir a la siguiente dirección https://www.dfrobot.com/product-1264.html
Tal vez pueda interesarte proyectos en arduino, pic, robótica, telecomunicaciones, suscribete en http://www.youtube.com/user/carlosvolt?sub_confirmation=1 mucho videos con código fuentes completos y diagramas
SUSCRIBETE A NUESTROS BOLETINES, RECIBE EN TU CORREO LAS NOTICIAS MÁS DESTACADAS, SÓLO INGRESANDO TU CORREO ELECTRÓNICO
[wysija_form id=”1″]
VIDEO RECOMENDADO